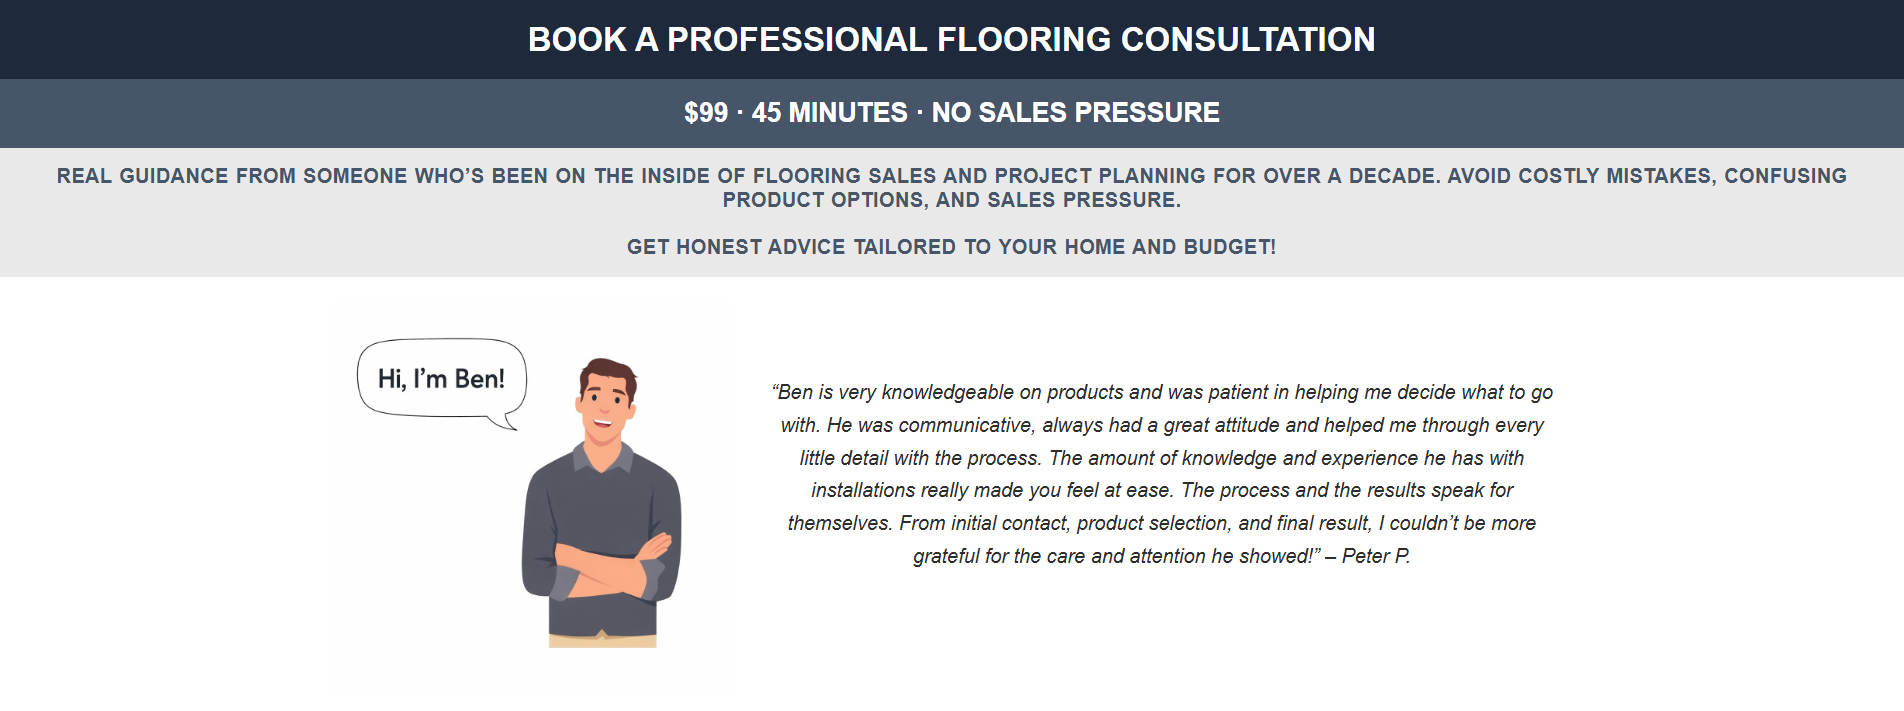
Your Flooring Installation Day Guide
A simple guide to help you prepare, know what to expect & protect your new floors.
Before Installation: How To Prepare
Confirm Installation Time: Contact your flooring store the day before to confirm what time you can expect your installer to arrive.
Ensure Power is On: Make sure your home has power, as installers will need it for tools, lighting, and other equipment.
Gate Codes & Access Instructions: If your home is in a gated community or has restricted access, provide all necessary entry codes to your flooring store in advance.
Move Furniture & Fragile Items: Remove furniture, electronics, wall décor, and any breakables. If furniture moving is part of your service, please empty drawers and clear off surfaces. Most flooring stores will not move electronics so plan ahead for any TV’s, sound systems or other electronic devices.
Unhook & Disconnect Appliances: Check with your flooring store to see if you or your installer is responsible for disconnect appliances. Most stores will require that plumbing like toilets or water heaters are to be uninstalled and removed before installation begins. Also, remember to remove items from closets if flooring is being installed there.
Secure Pets: For their safety and the crew’s, keep pets in a secure area away from the work zone throughout the day.
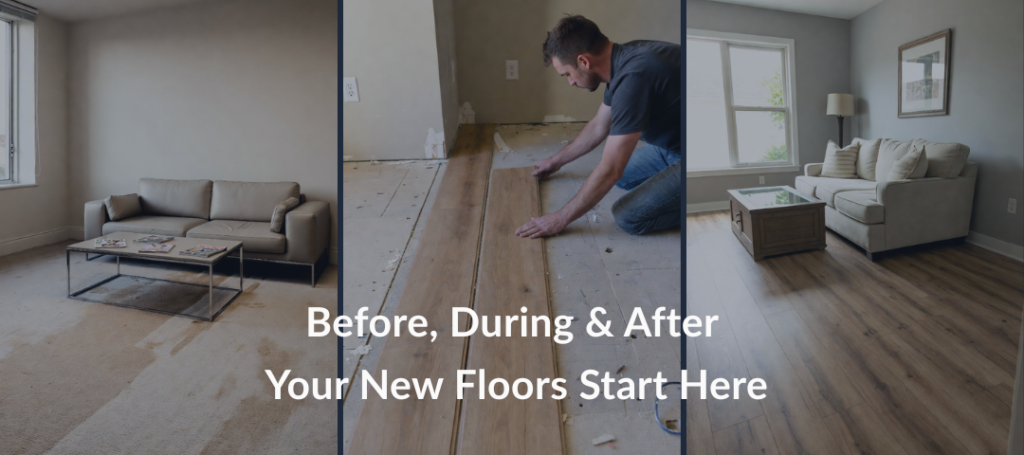
Take ‘Before’ Photos: Now’s your last chance to snap some “before” photos if you want to do a Before & After comparison later.
Product Inspection: If the installer is delivering your flooring, this may be the first time anyone sees the material. It’s critical to inspect the product at this time by checking for any defects, wrong colors, or manufacturer errors. It’ll cost a 25% restocking fee, but that’s cheaper then removing them and reinstalling new floors if there is any discrepancies that are not manufacture related.
Flooring Pro Tip: If you the homeowners makes a comment like “These look great, I’m excited for the new floors” and just glance over the boxes and then they are installed, that can be considered an acceptance of the material, so please ask to inspect your product the day it arrives at the flooring store. This gives you more time to catch issues before installation day.
Clear the Work Area & Entry Path: Make sure walkways are accessible and clear, especially in snow or rainy conditions. Please clear the room of any trash, clothing, debris, nails, etc. They are there to install your floors not clean your house.
Climate Control: Ensure your HVAC is running at a normal temperature for at least 48 hours prior. Most flooring needs to acclimate to your home’s environment. Recommended home temperatures are between 68 – 72 degrees.
Ask Questions in Advance: Have concerns about thresholds, transitions, or special requests? Share those details with your store or installer ahead of time. This will save you headache down the road!
During Installation: What to Expect
Installers May Arrive Early: Be ready by the confirmed arrival time. If you’re not home, make sure the crew has access instructions (garage code, key, gate code, etc.).
Product Will Be Inspected On-Site: If the product is being brought the day of installation, both the installer and homeowner should inspect it before installation begins. This is the last opportunity to catch any errors in color, pattern, quantity, or visible defects. Once it’s installed, it’s considered accepted.
Noise, Dust, & Odors Are Normal: Installation involves cutting, sanding, gluing, and nailing. Expect a fair amount of noise and dust. If adhesives are used, there may also be noticeable odors, consider opening windows or using fans for ventilation.
Keep Pets & Children Away from Work Areas: For their safety and to keep the job moving efficiently, keep children and pets away from all active installation zones.
Limit Access to the Work Area: Try to stay out of the installation areas unless asked. Walking through could impact adhesives or interfere with layout work, especially during crucial steps like leveling or plank placement.
Expect Some Vibration or Movement: Power tools can cause vibration, so remove any fragile items from nearby walls or furniture, especially on shared walls in condos, townhomes, or upstairs rooms.
Plan for Temporary Inconveniences: Depending on your flooring type, certain rooms may be inaccessible for the day. Make alternate arrangements for essentials like bathrooms or kitchen access. Things like tile flooring installation will take two days, one to tile and one to grout!
Be Available for Questions or Decisions: Sometimes an installer may need to ask you about transitions, baseboards, floor direction, or how you’d like to handle unexpected discoveries (like subfloor damage or leveling issues). Staying reachable by phone or nearby is helpful.
Install Time Varies: While many installations are completed in one day, larger projects or those requiring leveling, glue-down installation, or moisture mitigation may take multiple days. You’ll be informed ahead of time if additional steps are expected.
Carpet vs. Hard Surface Install Expectations: Carpet installs typically move quickly but may require extra prep, like tack strip removal or seam placement decisions. Hard surface installs (like LVP, hardwood, or tile) usually take longer, especially if transitions or leveling are involved.
Photos During the Process: Want to document the transformation? Feel free to take progress photos, just be careful not to interrupt the crew or step into active work zones. Most installers are happy to give you a safe moment to capture the progress if you ask.
After Installation: Final Steps & What to Know
Do a Final Walkthrough with the Installer: Before the crew leaves, walk the space with your installer. This is your time to ask questions, confirm that transitions and seams look good, and point out anything you’re unsure about.
Ventilate the Area if Needed: If adhesives or finishes were used, open windows and run fans as needed. Some odors may linger for 24-48 hours but should dissipate quickly.
Walking On & Moving Back Furniture: Depending on the type of floor and method of installation, you may need to wait to walk or move furniture back into the area. Here’s a simple rule for each material:
Carpet, LVP, Laminate & Wood: Typically ok right away, unless glued down then wait 24-48 hours for the glue to cure.
Floor Tile: May need 48-72 hours to cure before walking on it.
Onsite Refinishing: Wait at least 48-72 hours or as recommended before walking or placing heavy furniture on the area.
Use Furniture Pads & Rugs: Add felt pads to all furniture legs to prevent scratching, especially on hard surfaces. Place rugs or runners in high-traffic areas, but avoid rubber-backed rugs that can discolor floors.
Reinstall Appliances with Care: If your installer moved or disconnected appliances, follow instructions or contact your store to reinstall them properly. Never drag appliances across new floors.
Touch-Up or Caulking May Be Needed: You may notice small gaps, scuffs, or trim that needs touch-up after installation, especially with baseboards or paint. These are normal and easy to fix. Ask your store whether post-install touch-ups are included or if you’ll need to hire that separately.
Acclimation & Settling: Floors can continue to settle over the first few weeks. Minor changes in sound or feel are normal. Temperature and humidity shifts may also cause subtle expansion or contraction.
Document the Final Result: Now’s the time for your “after” photos! Snap some high-quality shots and compare with your before pics. If your installer or store did a great job, consider leaving a review and tagging them in your post.
Know What’s Covered: Save your invoice, warranty, and any product documentation. If your floor ever needs repair, replacement, or maintenance, these records will be essential. We recommend printing a copy and placing them inside a box of your excess material.
Ask About Maintenance Products: Some floors require special cleaning solutions. Using the wrong type of cleaner or not having your carpets professionally cleaned yearly can void your warranty, so ask your store what’s best for long-term care.
Stores Love Your Feedback: If you’re happy with the results, consider leaving your local flooring store a review or even better, referring a friend!